
Overview
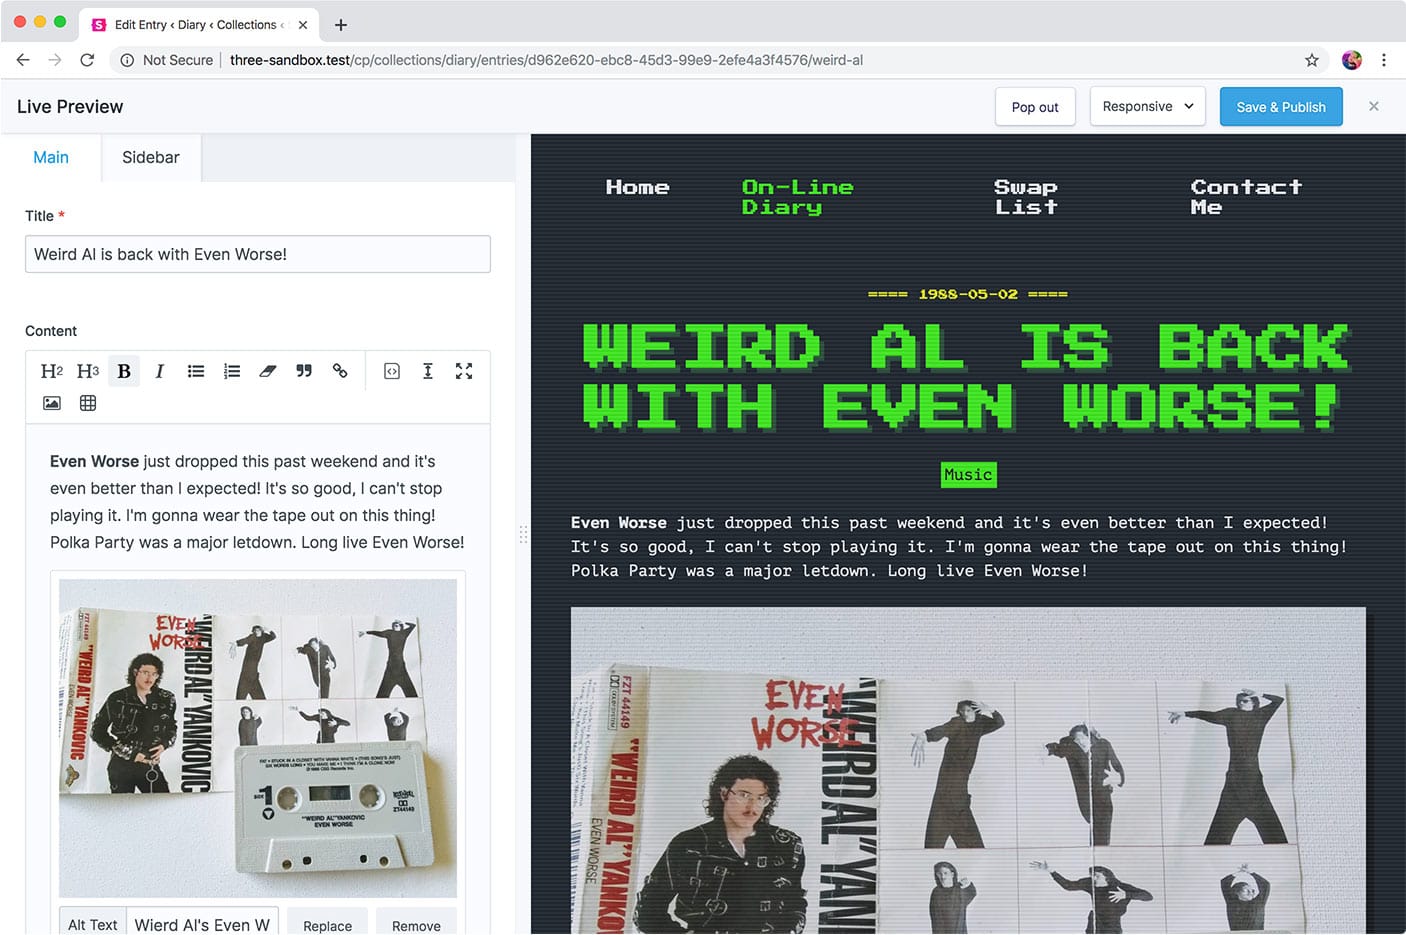
The ability to preview what your content looks like in real-time is practically a super power. You can be confident you won't have any layout surprises.
Live Preview will render your work-in-progress content with whichever template you have currently loaded. You can even switch between templates while previewing.
Keep in mind: Live Preview does not work using the array cache driver.
Device Sizes
You can customize the list of device sizes in config/statamic/live_preview.php.
'devices' => [ 'Laptop' => ['width' => 1440, 'height' => 900], 'Tablet' => ['width' => 1024, 'height' => 786], 'Mobile' => ['width' => 375, 'height' => 812],],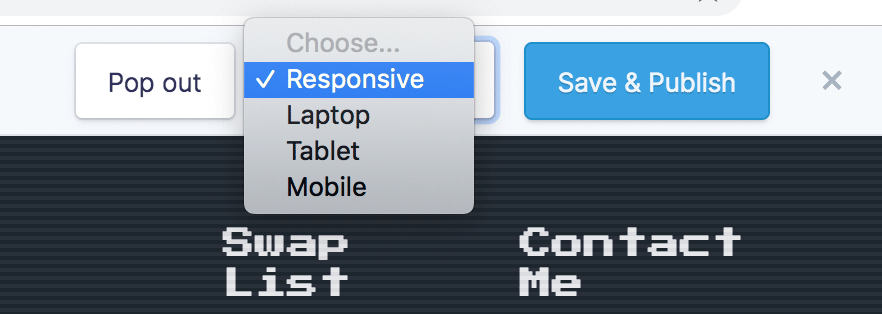
Customizing the Toolbar
You may add extra input fields to Live Preview's header toolbar using custom Vue components. The values of these fields will be available in the data injected into the template.
Define these inputs using an array of key/value pairs of field handles and vue component names in config/statamic/live_preview.php:
'inputs' => [ 'show_ads' => 'live-preview-ads',]Similar to fieldtypes, this component will be given a value prop and expect any changes to emit an input event.
Statamic.$components.register('live-preview-ads', require('./LivePreviewAds.vue'));<template> <div> <label> <input type="checkbox" :value="value" @input="$emit('input', $event.target.checked)" /> Show Advertisements </label> </div></template> <script>export default { props: ['value']}</script>These values are available in your views, scoped into the live_preview array:
{{ if live_preview:show_ads }} <div class="ad"> ... </div>{{ /if }}Preview Targets
On a Collection, you may define one or more preview targets which lets you choose which page should be viewed in the Live Preview window.
For example, you may want to preview how an entry looks on the entry's page itself, as well as a listing page.
# content/collections/blog.yamlpreview_targets: - label: Entry url: /blog/{slug} - label: Index url: /blogYou may use entry's variables in the URL, just like defining a route.
If you don't define any targets, it will use the entry's URL.
Headless / Front-end Frameworks
To use Live Preview with a front-end framework, you may use a preview target that points to a custom URL.
For example, Nuxt.js's Preview Mode requires that you point to a URL with a preview=true query parameter.
preview_targets: - label: Entry url: https://your-nuxt-app.com/blog/{slug}?preview=trueA token query parameter will be appended to the URL automatically, which you can then pass back to Statamic in a GraphQL query, where it will know to replace the entry with the Live Preview version.
Auto-refreshing
On a preview target, you may disable the behavior that causes a full refresh of the iframe when you make changes. By disabling the refresh, postMessage will be used instead to send a payload to the front-end. You can listen for this event and perform your own live updating behavior.
First, set the preview target refresh setting to false:
preview_targets: - label: Entry url: https://your-nuxt-app.com/blog/{slug}?preview=true refresh: falseThen, the event.data will be an object containing the event name, reference of what you're editing, and the Live Preview token.
window.onmessage = function (e) { if (e.data.name === 'statamic.preview.updated') { updatePage(e) }} // A silly example where you update parts of the page by// querying the REST API with the provided token.const updatePage = function (e) { const id = e.data.reference.split('::')[1]; const url = `https://site.com/api/collections/articles/entries/${id}?token=${e.data.token}`; fetch(url) .then(response => response.json()) .then(response => { document.querySelector('#title').innerText = response.data.title; document.querySelector('#excerpt').innerText = response.data.excerpt; });} // A more realistic example, using a front-end framework like Nuxt.const updatePage = function (e) { window.$nuxt.refresh();}Custom Rendering
If you need even more control, you may create your own route that retrieves the Live Preview entry through the token manually. Whatever you return from the route will be displayed within Live Preview.
preview_targets: - label: Entry url: /render-live-previewuse Facades\Statamic\CP\LivePreview;use Illuminate\Http\Request; Route::get('/render-live-preview', function (Request $request) { $entry = LivePreview::item($request->statamicToken()); $entry->title; // The edited title $entry->foo; // The edited foo field, etc. $entry->live_preview; // All the "extra" data from the custom toolbar fields are in here. return view('whatever', ['entry' => $entry]);});